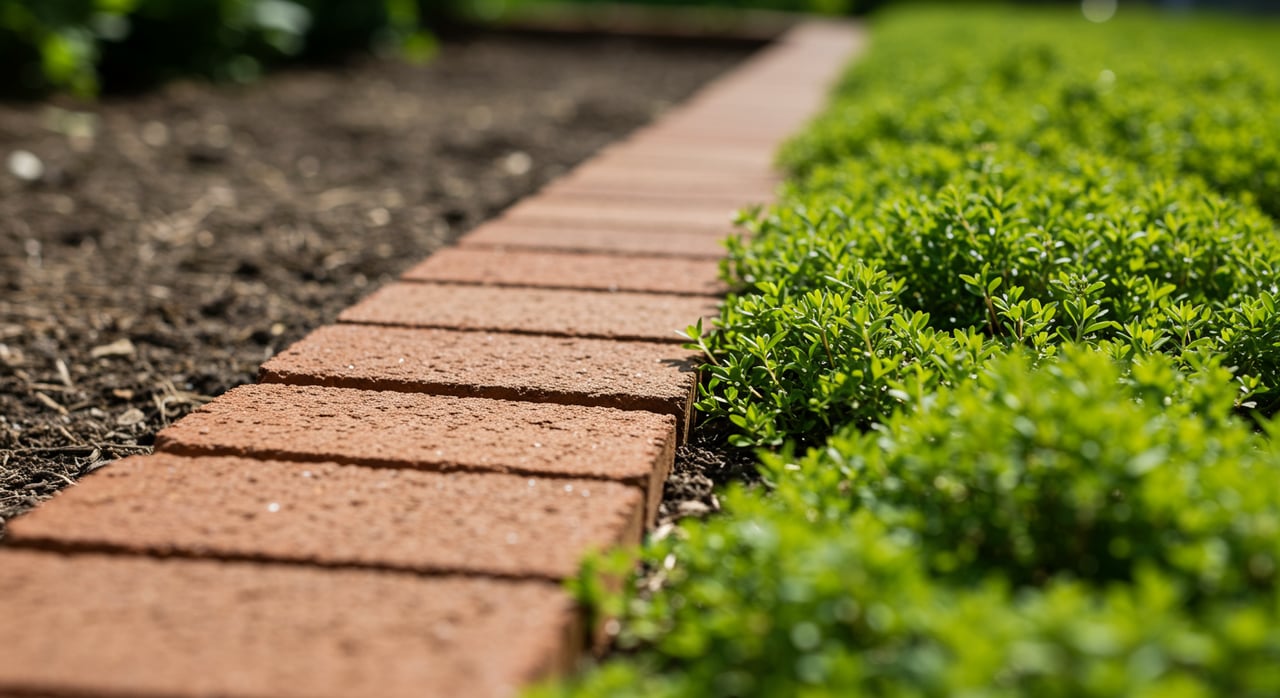
Creating a great garden path doesn’t have to be a long and difficult process. With the right tools and techniques, DIY enthusiasts of all skill levels can build a classic and functional brick pathway. Here we’ll go over the materials and process for your next garden path DIY project.
Materials
-
Cobblestones
-
Edging stakes
-
Granite pavers
-
Plastic landscaping edging
-
Sand
-
Spray paint (for marking)
Equipment
-
Rubber mallet
-
Level
-
Shovel
-
Mason’s chisel
-
Spade
-
Wheelbarrow
Safety Tips
Before you dig, contact your utility provider to make sure you are not in danger of breaking power, water or cable lines. Always use safety equipment to protect yourself while working.
Process
-
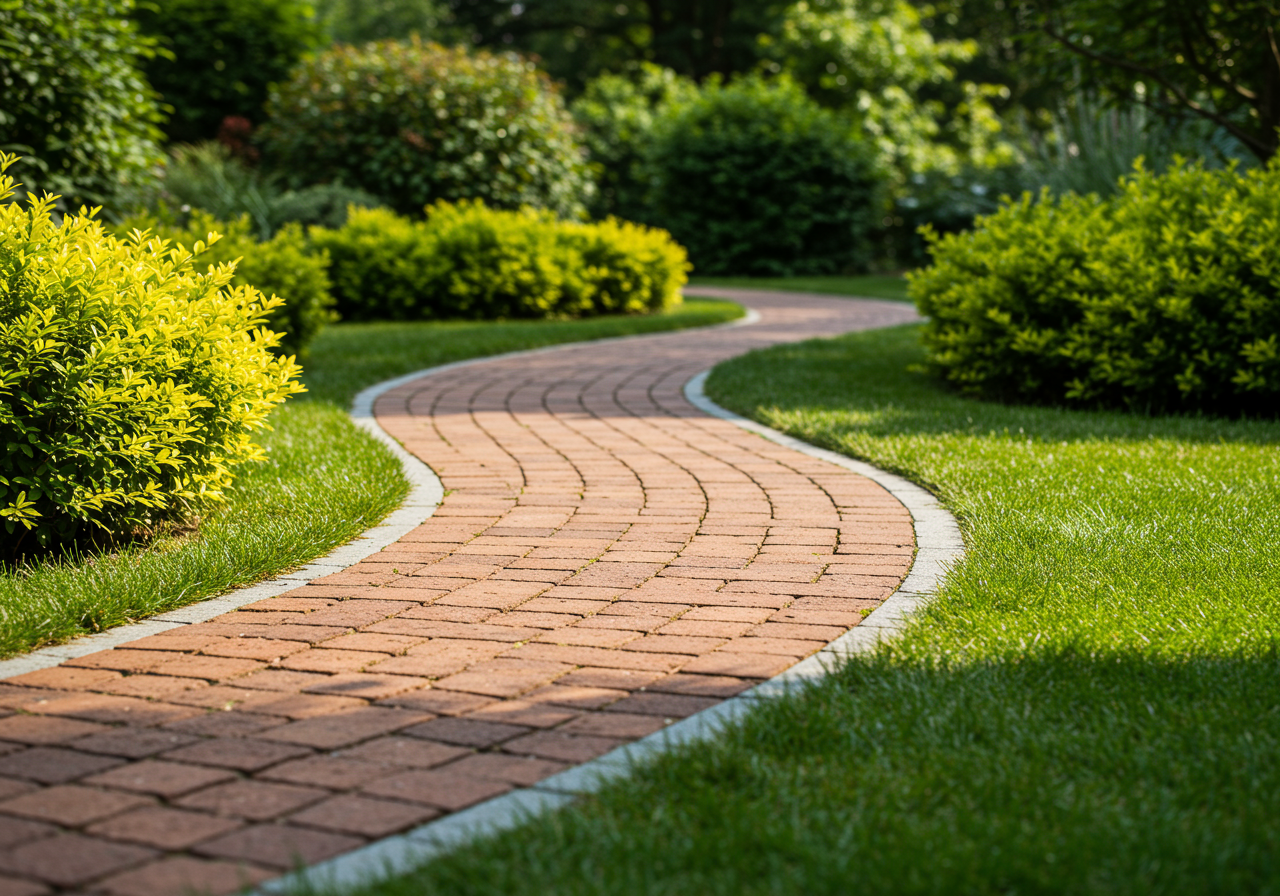
Plan the layout of your path. Use stakes and spray paint to mark the edges of your path. If you’re including curves, make sure they are gradual enough to avoid causing gaps between pavers.
-
Measure out the width of the path using your brick pavers. Add a few extra inches on either side for adjustments and to help with making curves.
-
Dig out a trench for your path with a shovel. It does not have to be even at first, you can always clean up the edges and make it level after you’ve defined the entire length of the path. Dig to a depth of about 7 inches.
-
Take your plastic landscape edging and set it in the edges of the path. Then, using a mallet or hammer, drive stakes into the edging to secure it to the “walls” of your path.
-
Add a layer of sand to the path, leaving about 3 inches of space between it and the top of the plastic edging. Use either a hand-tamper or a motorized plate compactor to tamp down the sand. To make it easier, sprinkle the sand with water so it’s slightly damp.
-
Now it’s time to lay the pavers. Lay the stone pavers one by one, setting them tightly into the sand with the rubber mallet. If you are adding pavers along a curve, you can break pavers in half to fill in the gaps at the end.
-
If you need to cut pavers to fit small gaps, measure them in place and mark with a pencil. Then, you can break the paver into smaller pieces using your chisel and mallet. Save the extra pieces in case you need them.
-
Fill in the edges of the path where it meets the sod or ground with topsoil. Tamp the soil down so it’s secure.
-
Fill the joints of your path with sand by pouring it on top of the path and sweeping with a large broom. Use slightly damp sand so it will stick in place. Save your extra sand for eventual maintenance in the future.
Now you have a fantastic traditional brick paver path for your garden. You can use this same method with any style of paver as long as you measure accordingly. Enjoy incorporating the path into the rest of your landscaping design and the benefits of your diligent DIY work.